top of page
This site was designed with the
.com
website builder. Create your website today.
Start Now
Down The Mine Pilot
Home
About
What We Know
Theories
Photos
News
Contact
More
Use tab to navigate through the menu items.
Photos
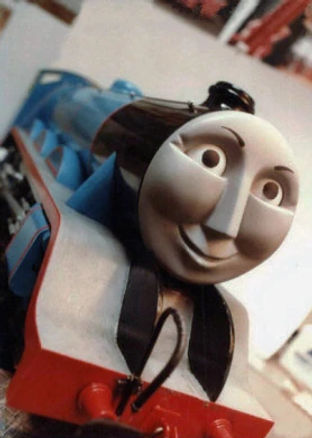
Thomas
A still from the finalized episode of Thomas at Knapford
A still of Thomas going under the bridge later used for the intro
Gordon
Photos of Gordons Pilot model
© Christopher Noulton
Miscellaneous
© Christopher Noulton
Reused footage
Watch
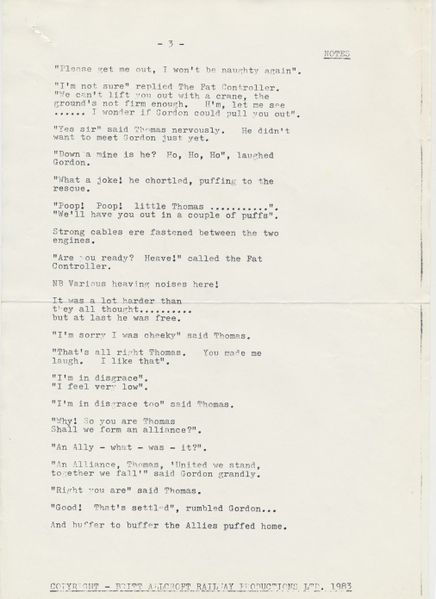
Scripts
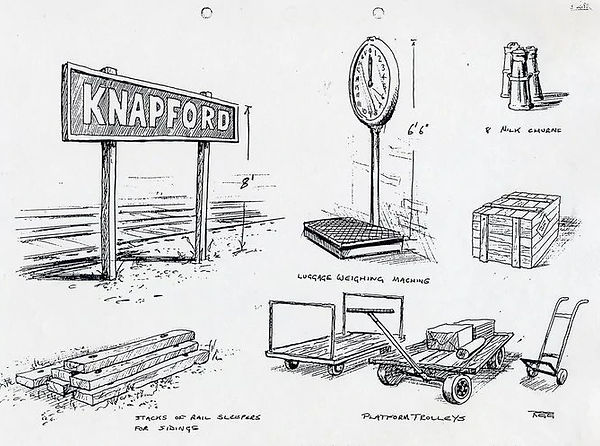
Concept Art
bottom of page


.jpg)

.jpg)
.jpg)
.jpg)
.jpg)
.jpg)
.jpg)
.jpg)
.jpg)


.jpg)
.jpg)
_(1).jpg)
_(1).jpg)
_(1).jpg)
_(1).jpg)